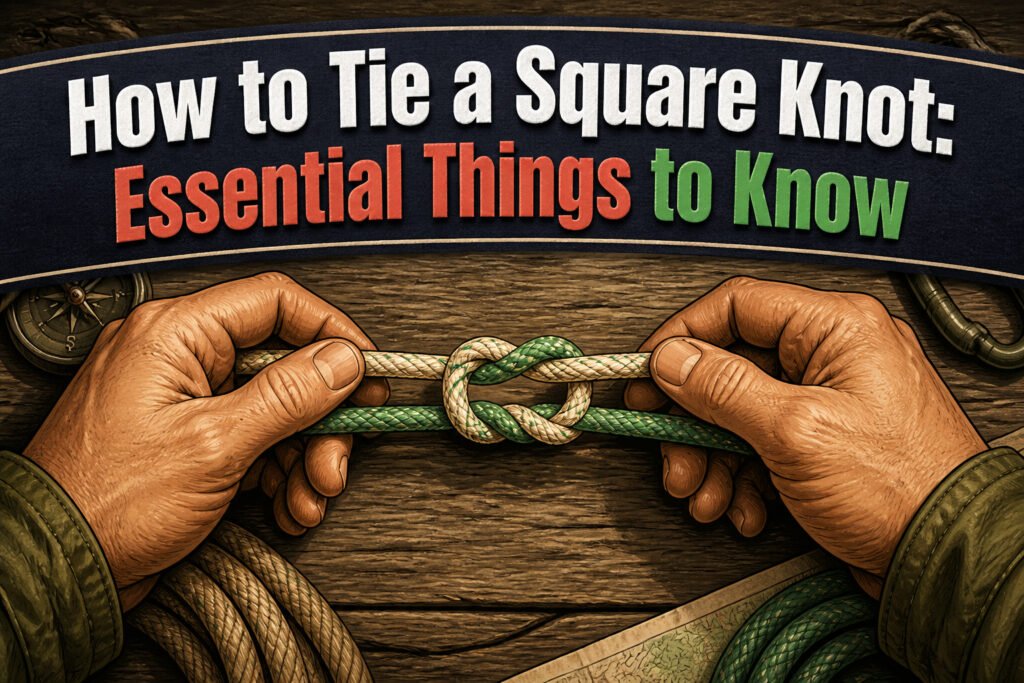
A square knot takes two opposing crosses and about ten seconds. Most people stop at one, or repeat the same cross twice, and walk away with a granny knot that spills under load. The second half is where it locks: left over right, mirroring the first step exactly, or the whole thing skews sideways and works loose the moment tension shifts.
1. Cross Right Over Left
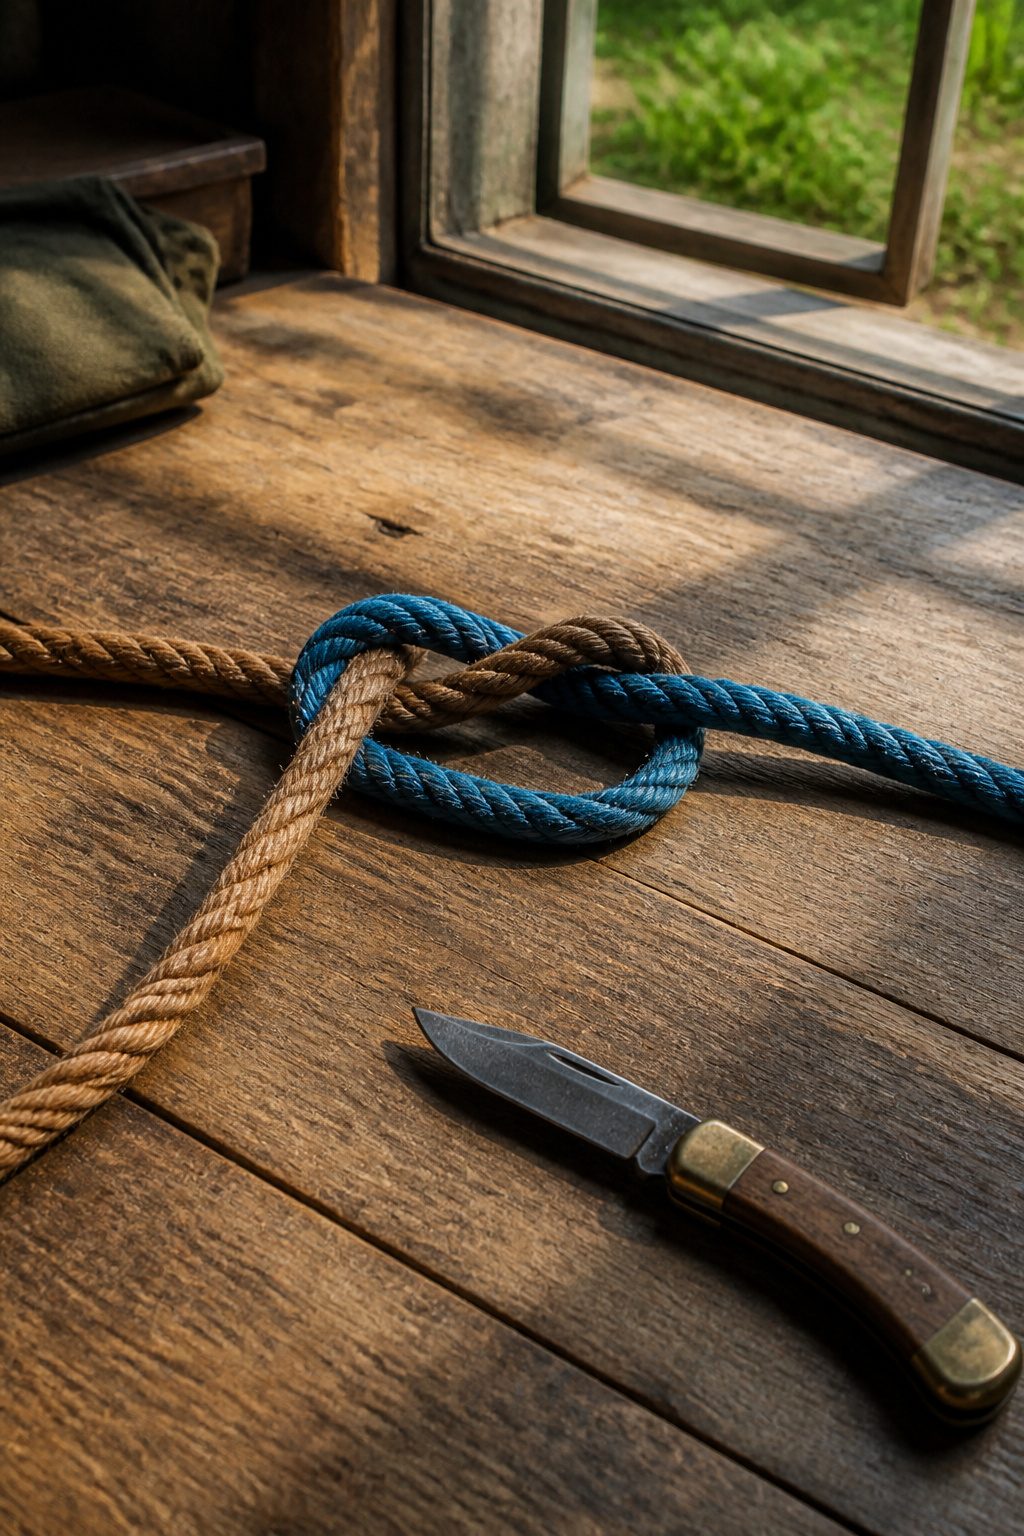
The right rope goes over the left. That is the first half of a square knot, and stopping there leaves you with something that looks finished but will spill under load.
I hold one rope in each hand with about a foot of tag end past where they meet. The right tag end crosses over the left, then loops under and back through. The result resembles a simple overhand knot, two ends emerging from a single twist. It is not a square knot yet. It is a granny waiting to happen, or a thief knot if the ends point the wrong way, and neither holds reliably.
What you have at this stage is a half knot that will loosen the moment tension shifts or the rope rotates. The second crossing, left over right, is what locks the structure. Without it, the knot capsizes or unties itself. I have seen people cinch down this first half and call the job done, only to watch it fail when the load shifts.
2. Cross Left Over Right
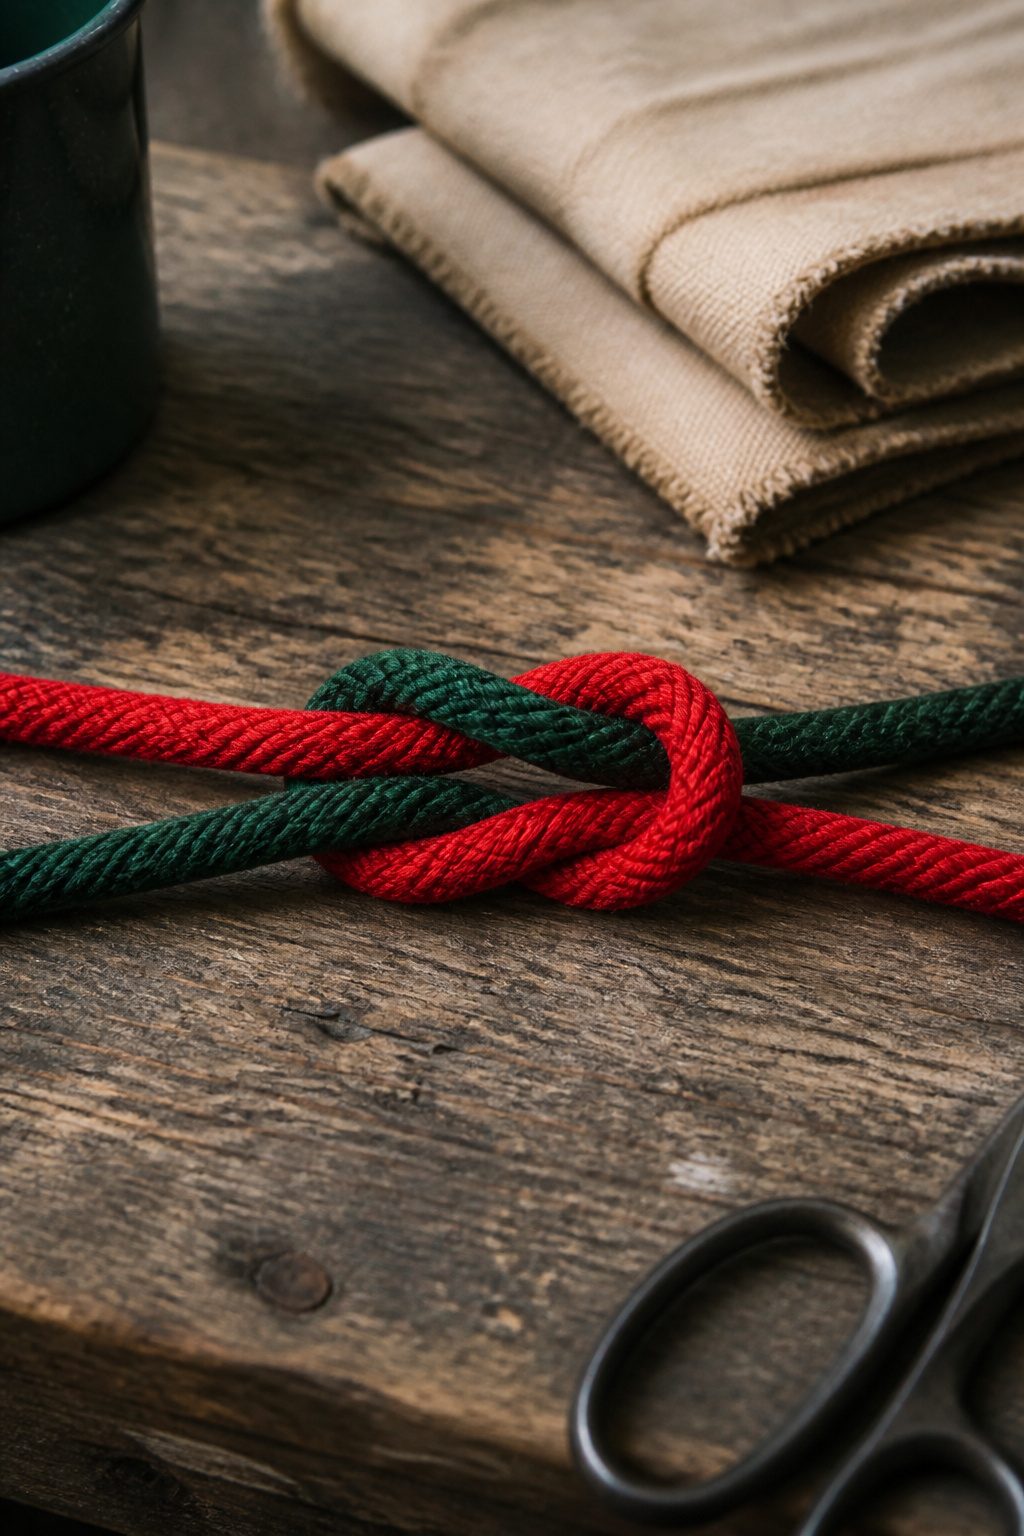
The second half of a square knot is where most people slip into the weaker granny knot without noticing. After the first crossing, the left rope needs to go over the right, then back under and through the loop. Cross left over right the same way you crossed right over left, mirroring the first step exactly.
That mirroring matters more than it looks. Two rights-over-left in a row, or two lefts-over-right, produces the granny knot instead: it looks close, but the finished shape skews sideways and works itself loose under load. The square knot only locks flat and square when the two halves oppose each other.
I learned to check this by glancing at the parallel strands after the first tuck. If they lie straight, the second crossing matches. If one strand already angles off, I am about to tie the wrong knot twice.
3. Tighten Evenly
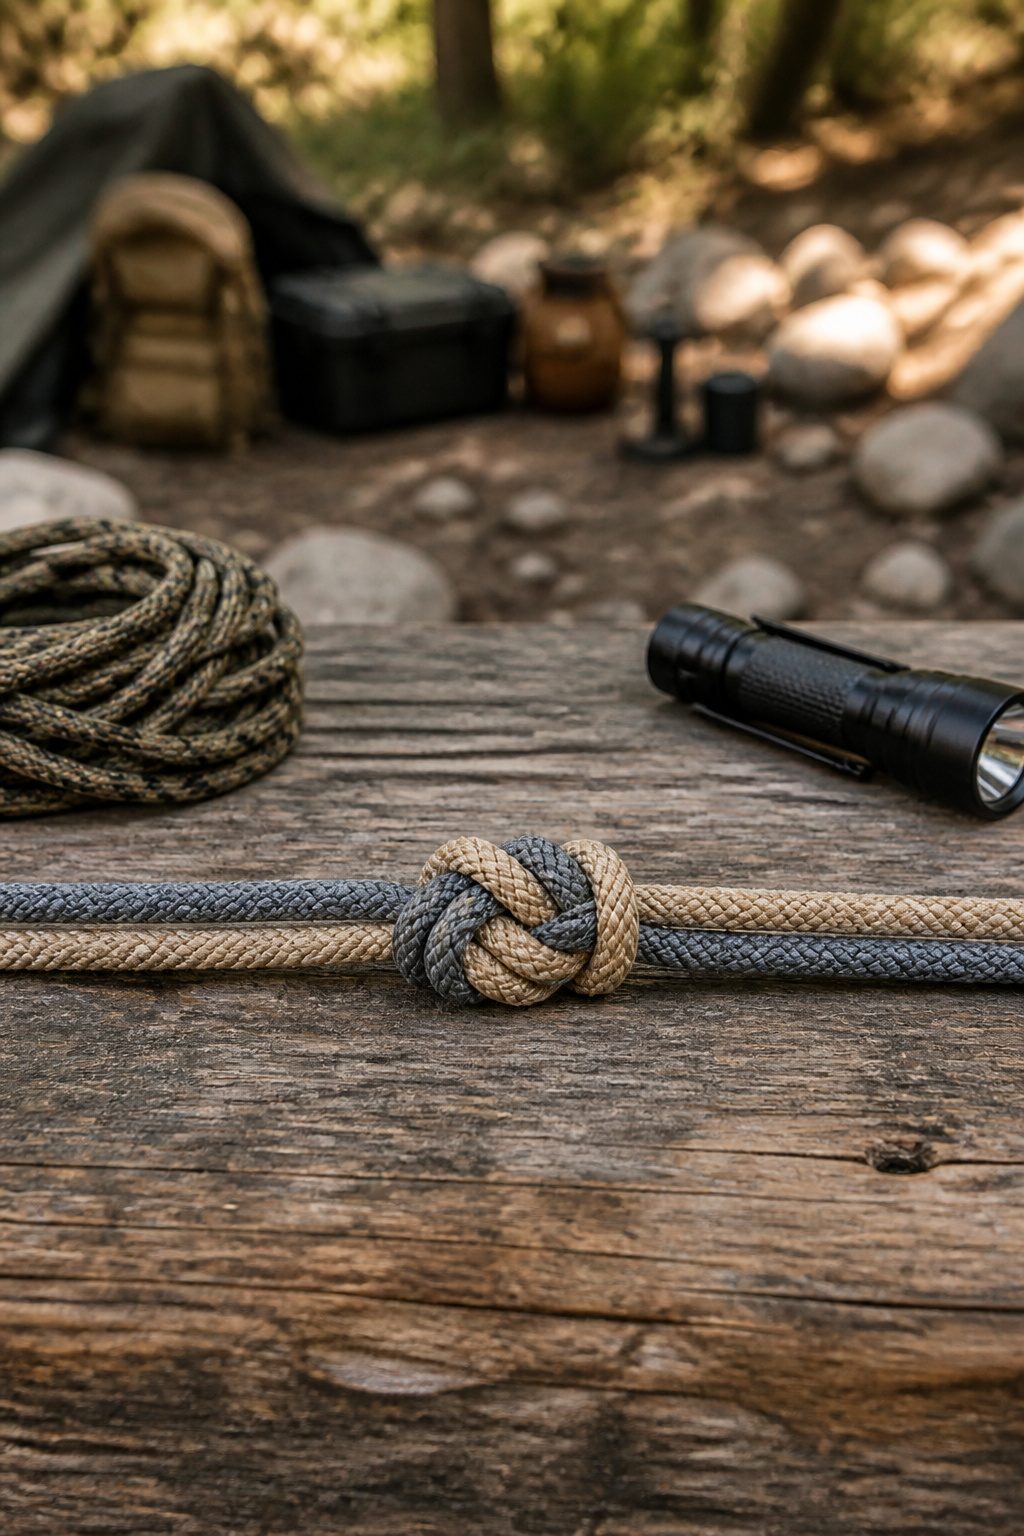
Pull both running ends at the same time, but keep the two halves stacked flat and symmetrical as you do it. The finished knot should lie flat with two parallel coils on each side, each rope’s tag end and running line exiting through the loop formed by the opposite rope. Pull too hard and the knot distorts, which is where I have gone wrong more than once, especially with stiff cordage. The square knot only cinches tighter under strain when it starts from that flat, even shape. If one half twists or the loops skew, the friction that holds it fails. Check before you load it: the knot should look like two perfectly joined loops, not a lopsided clump.
4. Uses
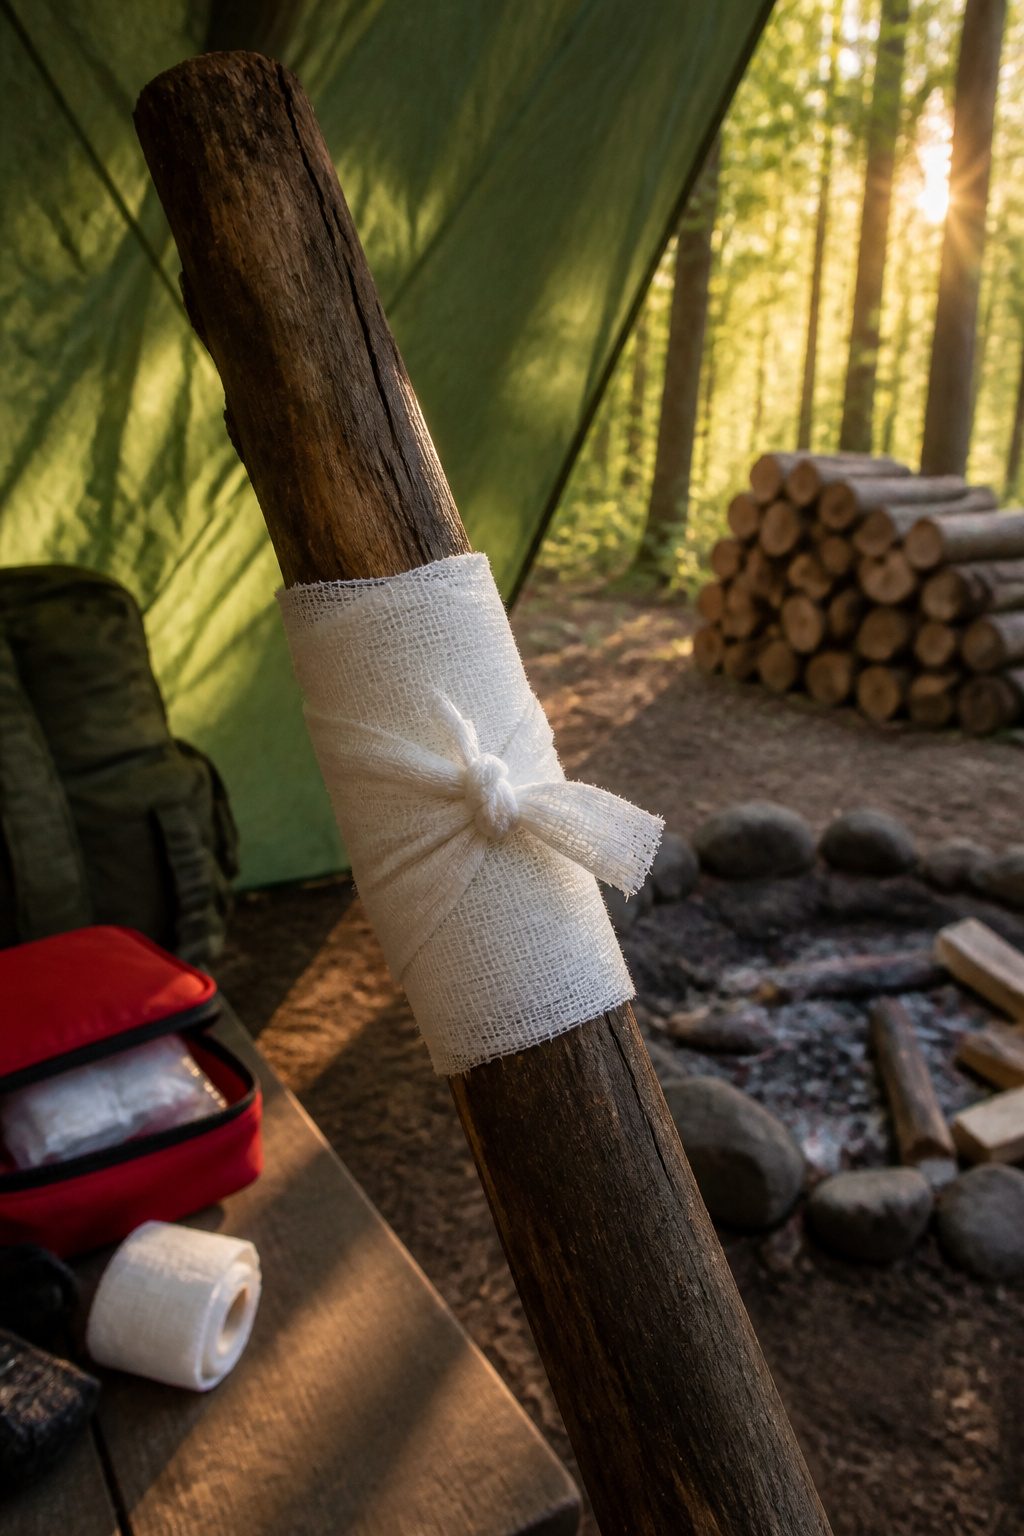
A square knot earns its keep on jobs where the load stays light and the ropes match.
- First aid bandages make up the most common use. The knot sits flat against skin and holds gauze without digging into a wound.
- Gift ribbons tie off cleaner with a square knot than the granny knot most people default to.
- Two ropes of equal diameter join fast; mismatch a thin line with a thick one and the knot slips or jams.
- Macramé projects and fashion accessories like scarves use it for the flat, symmetrical face it leaves.
- Light camping tasks work fine: lashing a sleeping pad, hanging a food bag, bundling tent stakes. Anything heavier and the knot can capsize under shock.
The square knot needs pressure against something to stay honest. Left to dangle free under real weight, it unties itself.
5. Mistakes
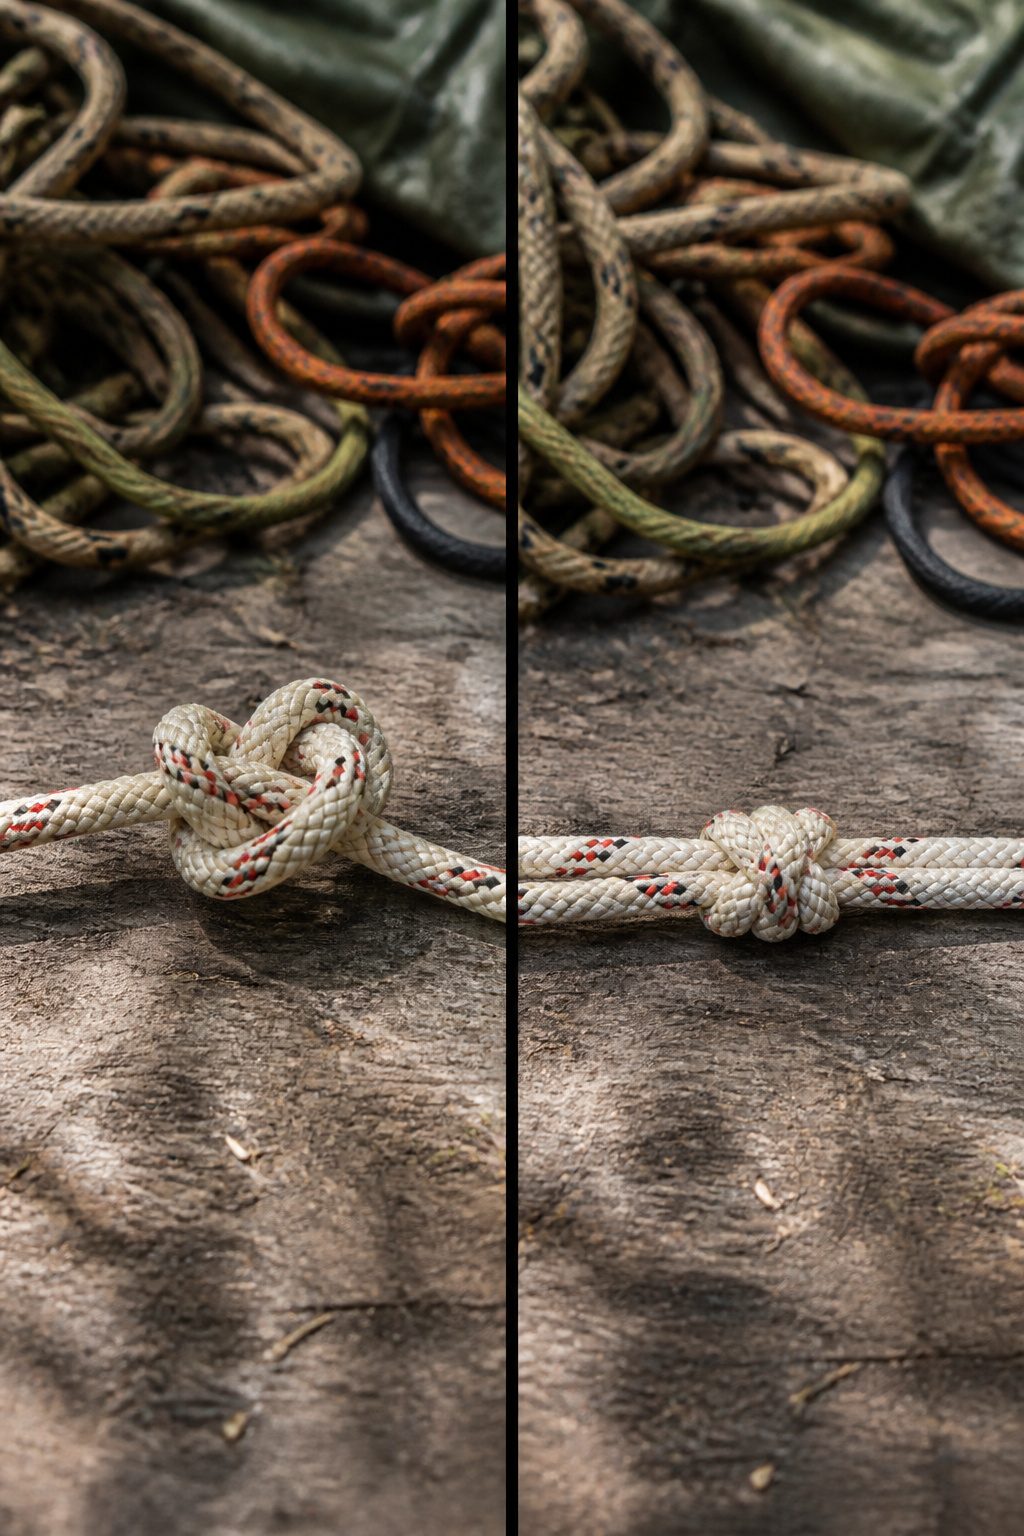
The most common way to ruin a square knot is tying the same half twice. Right over left, then right over left again, or left over right both times, and you have a granny knot instead. A granny knot will not lie flat; the loops sit crooked, and under any real load it capsizes and spills open. Square the finished knot and look: the working ends and the standing parts should exit opposite each other in clean pairs. If they spiral around the same way, you tied a granny.
Pulling unevenly or yanking too hard distorts the shape just as badly. One side bunches, the other flattens, and the knot jams before it ever seats properly. Draw the halves together with steady, even tension, then ease off and dress the knot by hand so the crossings sit square. A well-tied square knot looks balanced from every angle and holds without needing extra half knots for security.
6. Limitations
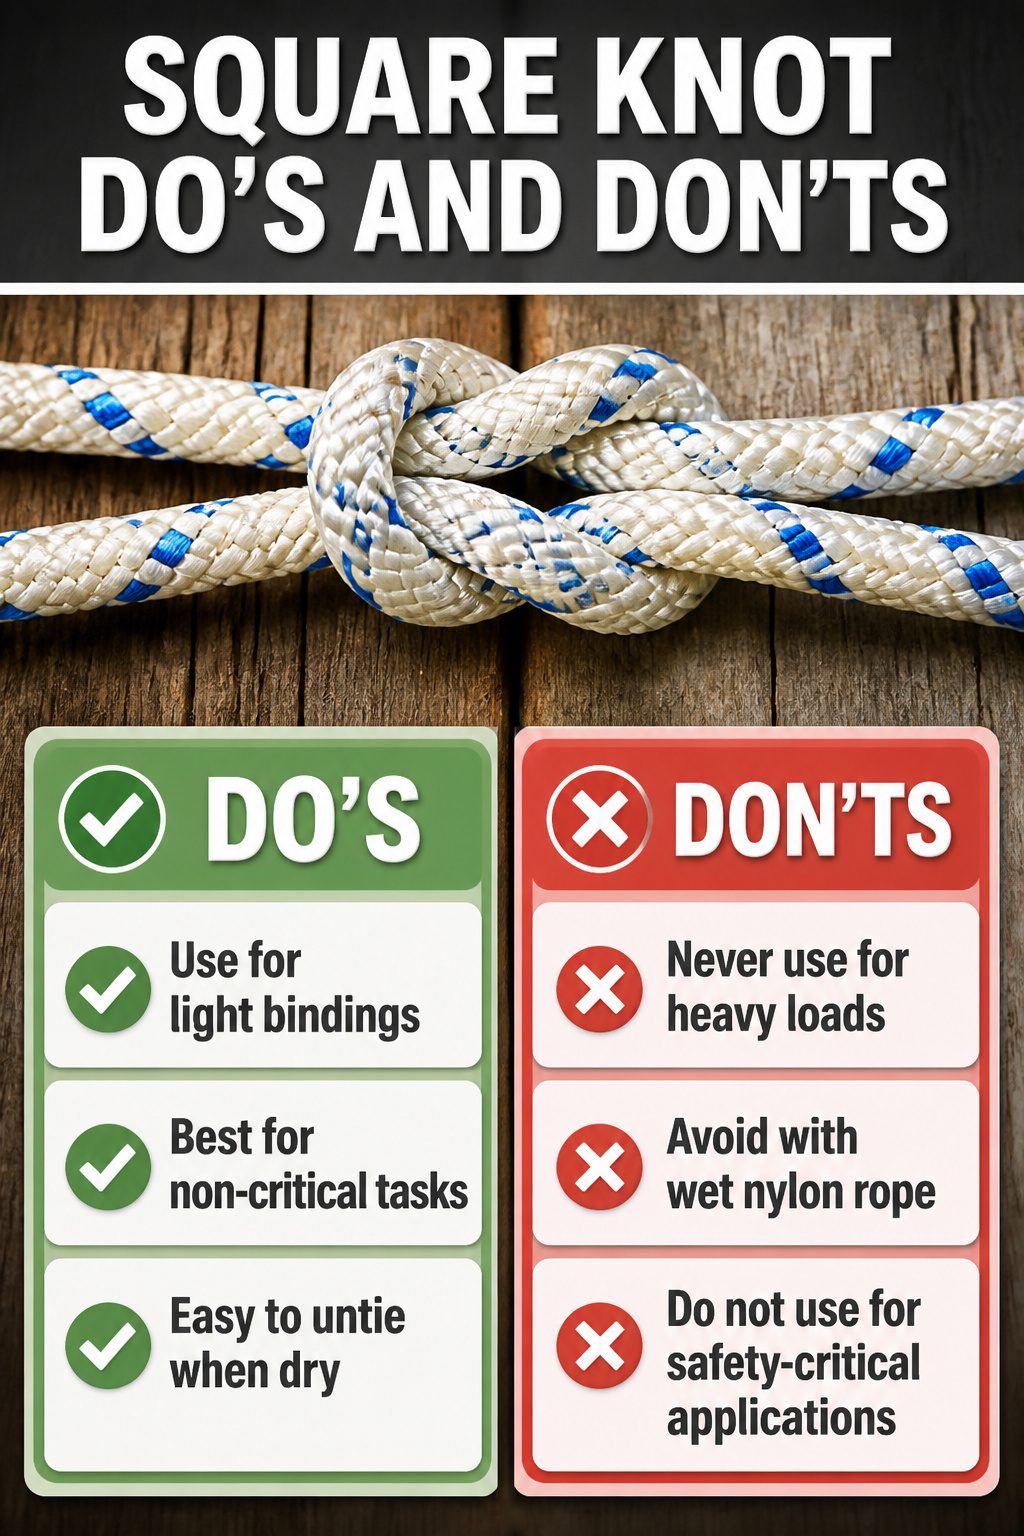
The square knot looks secure once dressed, but that appearance hides real weaknesses. A strong pull on either end can spill the knot open, and the same friction that holds it together lets it slide apart under shock loading. Wet nylon or other synthetic ropes make this worse; the knot slips instead of gripping.
Capsizing is another risk. Without steady tension keeping the two working ends pulled in opposite directions, the whole structure can roll into something else entirely. Even stacking extra half knots on top, or adding the extra turn that makes a surgeon’s knot, does not make this safe for critical loads. The red-rope demonstrations in knot references show a stack of square knots pulling undone clean, end to end.
Never use a square knot for heavy loads or any situation where failure means injury. Binding a sail cover, tying a gift, or finishing your shoes, fine. For anything that holds weight, a sheet bend, double fisherman’s, or Carrick bend is the right call instead.
7. Surgeon’s Knot Variation
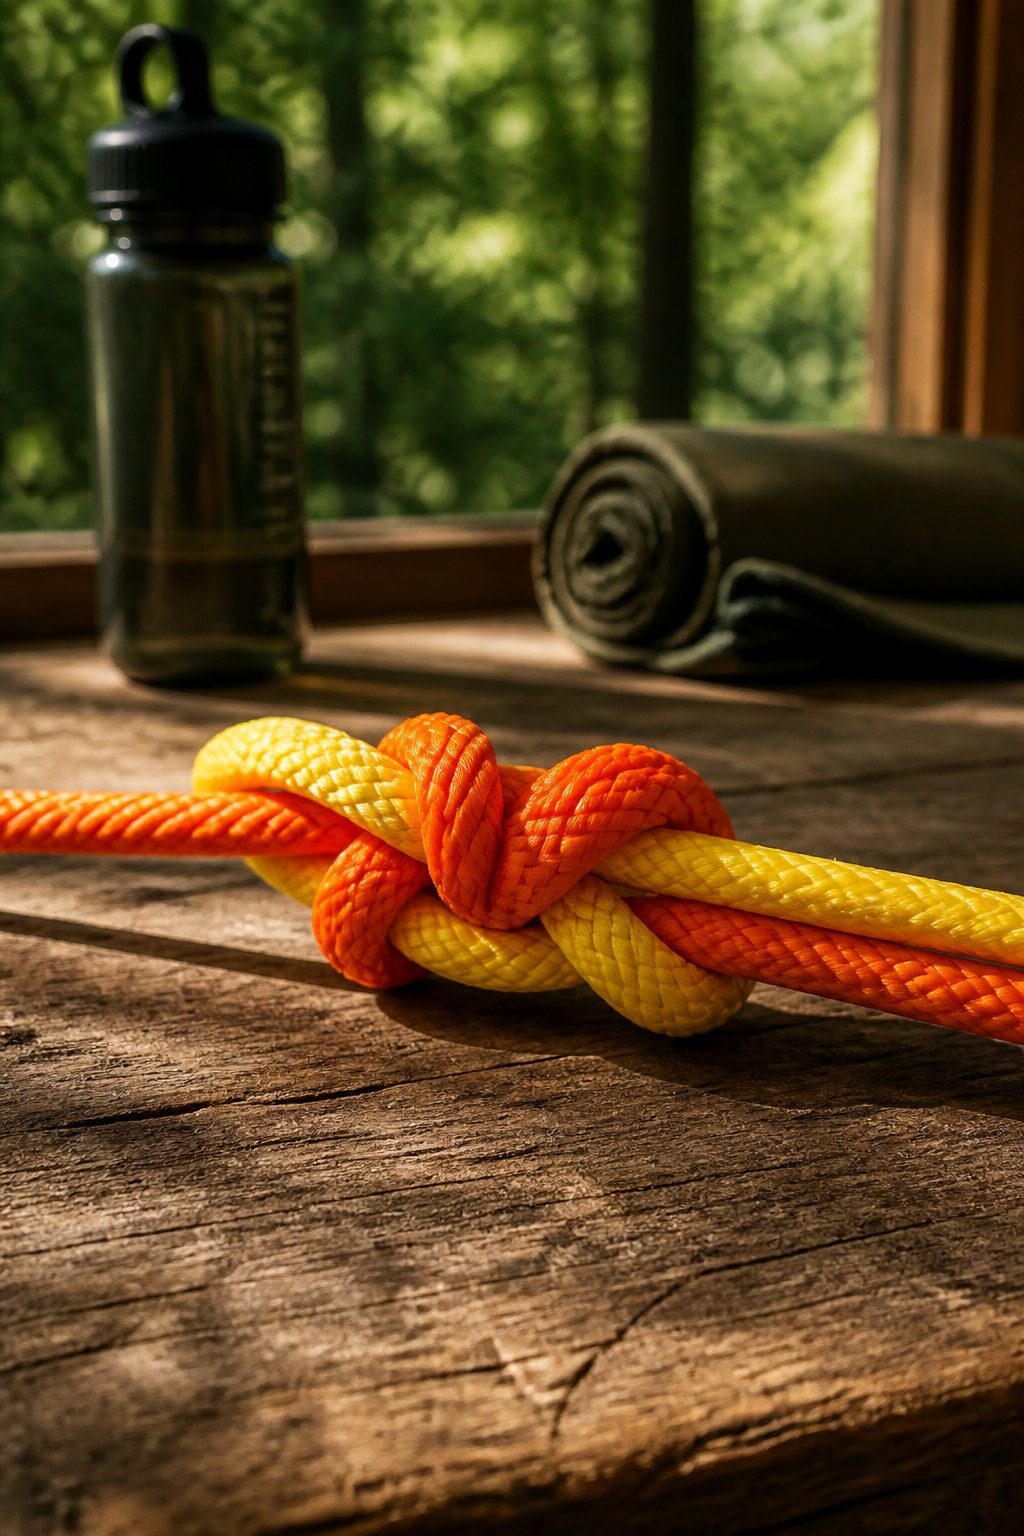
The one modification worth learning adds an extra coil on the first half of the knot for friction that grips slippery line or synthetic cord. You wrap the right rope over and under the left, then wrap it over and under again before completing the second half-knot as normal. No extra coil is needed on the second half; the doubled first coil does the holding.
This is the surgeon’s knot, and sources single it out as the only backed variation. Tying with loops instead of rope ends gets mentioned, but the details are thin enough that I would not rely on my own guess at the hand position. Stick with the extra coil. It costs nothing in speed and turns a square knot from something that slips under load into something that stays put until you want it gone.
History and Names
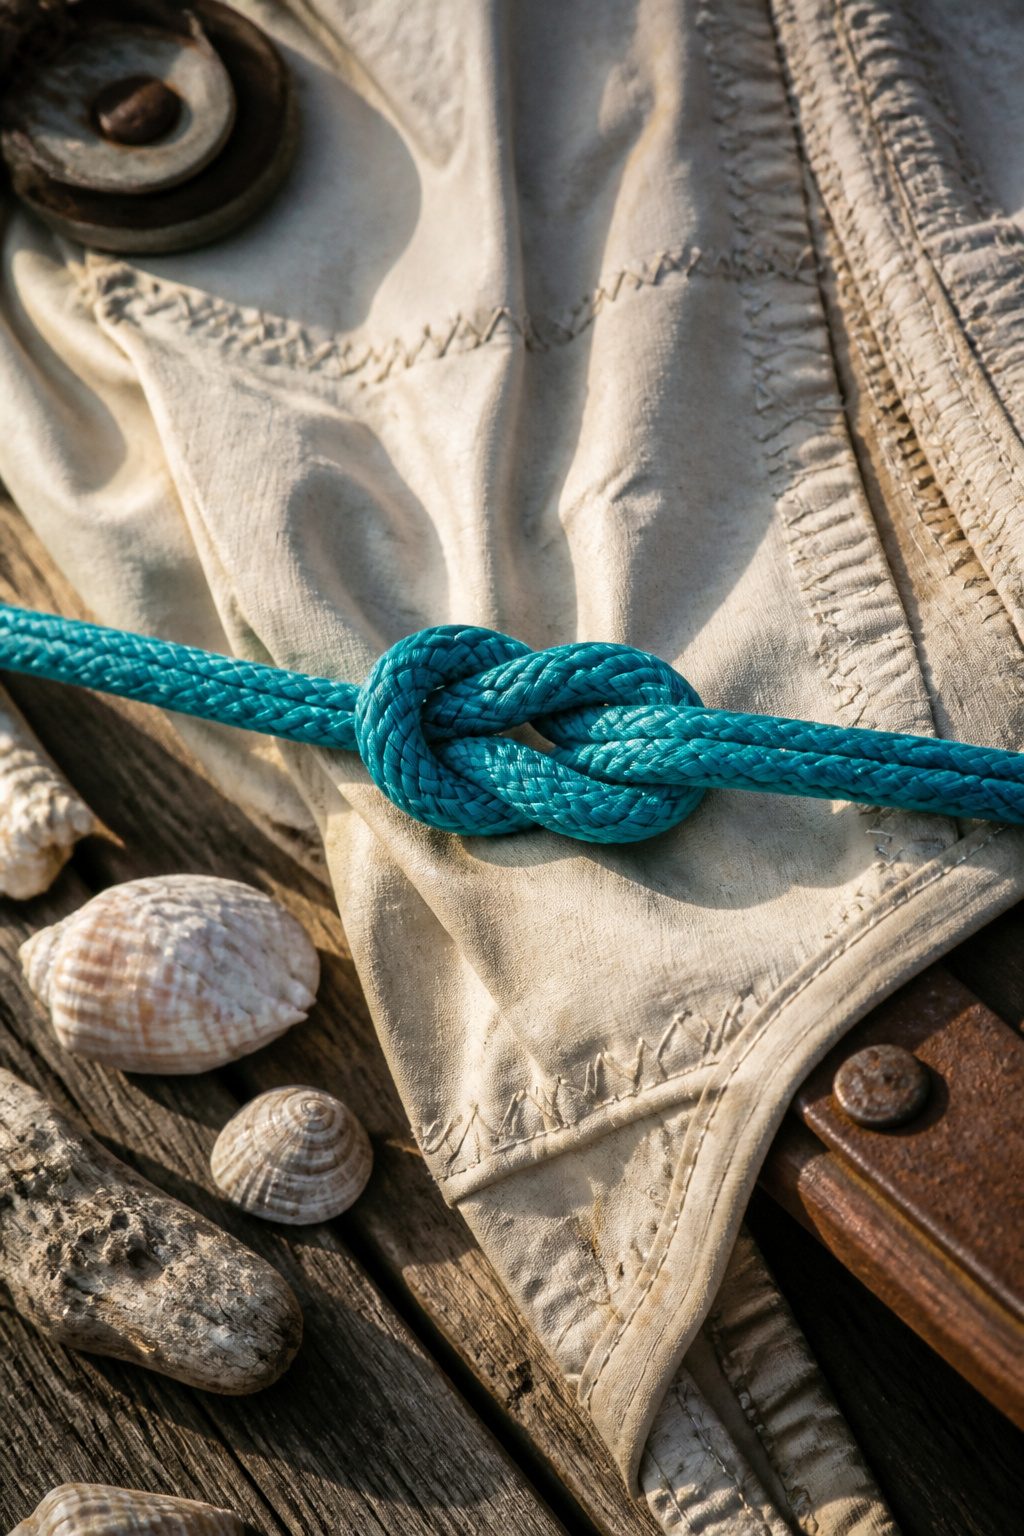
The square knot carries two common names, and the one you hear depends on who taught you. Sailors called it the reef knot because they tied it while reefing sails, reducing canvas when the wind picked up. That history still lives in the name: the knot was never meant to hold a load forever, just to keep a folded sail tidy until conditions changed.
Some older texts call it the Hercules knot, which sounds like a boast about strength. It is not. The square knot’s real virtues are speed and simplicity, not pulling power. Tie it wrong and you get a granny knot, which slips and jams and has probably cost more lives than half a dozen other knots combined when someone trusted it with a critical load. The square knot belongs on gift string and shoe laces and sail covers, not on a line that must hold.
Strength Against Other Knots
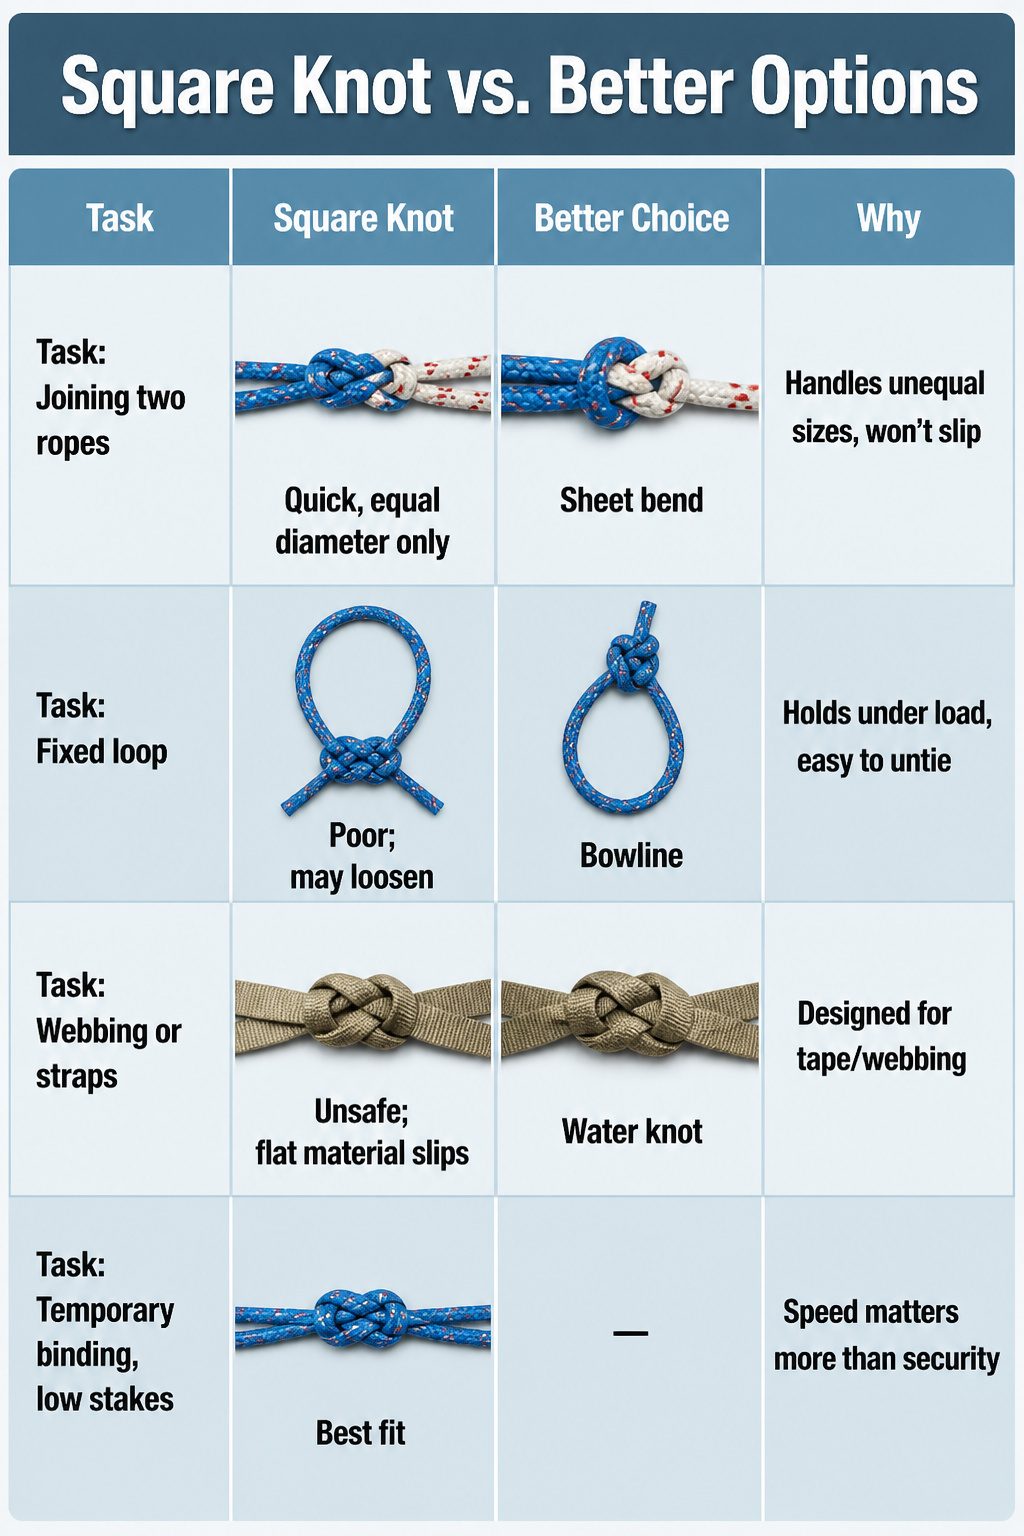
The square knot earns its keep on speed, not security. Two half-knots and you’re done, which matters when you’re lashing a tarp in rising wind or bundling gear for a quick portage. But the knot will capsize and spill under side load, and it jams badly if wet rope swells. For anything that holds weight or keeps you safe, better options exist.
| Task | Square Knot | Better Choice | Why |
|---|---|---|---|
| Joining two ropes | Quick, equal diameter only | Sheet bend | Handles unequal sizes, won’t slip |
| Fixed loop | Poor; may loosen | Bowline | Holds under load, easy to untie |
| Webbing or straps | Unsafe; flat material slips | Water knot | Designed for tape/webbing |
| Temporary binding, low stakes | Best fit | — | Speed matters more than security |
I keep the square knot in my kit for exactly that last row: bundling firewood, tying off a garbage bag, closing a sack of trail mix. The moment the job turns critical, the bowline or sheet bend comes out instead.
Frequently Asked Questions
How do I tie a square knot?
Cross the right rope over the left and tuck it under, then cross the left over the right and tuck it under again. Pull both running ends evenly so the knot lies flat and square. Stop after the first half and you have a granny knot that will spill under load.
What are the uses of a square knot?
Use it for first aid bandages, gift ribbons, joining two ropes of equal diameter, macramé, and light camping tasks like bundling tent stakes. It needs pressure against something to stay secure and should never hold heavy loads.
What mistakes should I avoid when tying a square knot?
Never tie the same half twice, which produces a weak granny knot that skews sideways and works loose. Pull evenly with steady tension; yanking too hard distorts the shape and jams the rope before the knot seats properly.